

Homemade Christmas Tree Cakes (With the Sweetest Story Behind Them)
- Dec 8, 2025
- 4 min read
There are some recipes that are more than recipes… they’re stories. They carry memories, moments, and people inside every bite. And these homemade Christmas Tree Cakes are one of those recipes for me.
Before I ever had kids gathered around my kitchen island, before I ever imagined writing a cookbook, I was running an all-inclusive wedding venue on our small farm in Jacksonville, Florida. I photographed weddings, filmed them, and welcomed couples with something special: a homemade cake tasting—made with farm-fresh duck eggs and the same vanilla base I use in this recipe.
One day, a groom took a bite, closed his eyes, and said:
“YES. If we can have this cake, we’ll have our wedding here.”
That moment has lived in my heart ever since.Because food isn’t just food—it’s the way we savor stories, preserve memories, and pass down traditions.
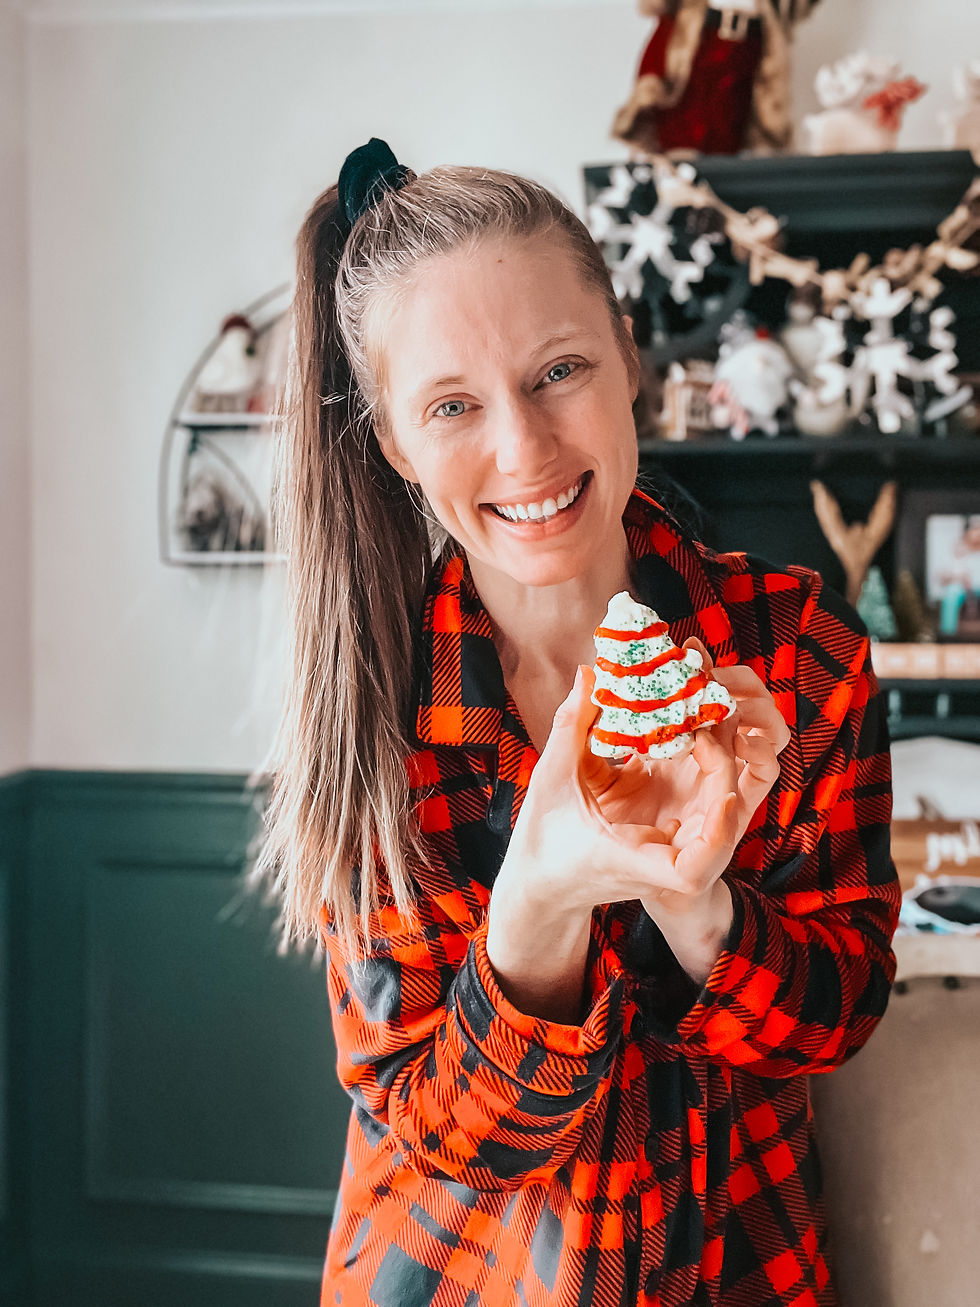
This year, I decided to pair that same beloved vanilla cake with a copycat Christmas Tree Cake filling and icing, along with that nostalgic green sanding sugar and red festive stripes we all love! My kids ran through the house with marshmallow fluff on their cheeks, and suddenly it felt like the kind of memory they’ll tell their children one day.
And now I’m sharing it with you—so you can savor it with your own family this season.


These homemade Christmas Tree Cakes taste just like the nostalgic little debbie version—only fresher, softer, and made with love. Using my fluffy vanilla “wedding cake” base, a cloud-like marshmallow filling, and a silky Ghirardelli white chocolate coating, these little treats are as magical as they look. Cut into adorable tree shapes and decorated with green sugar and red piping, they’re the perfect Christmas baking project with kids, festive party dessert, or make-ahead holiday treat everyone will rave about.
18 Mini Cakes
Prep + Decorating Time: 40 minutes
Bake Time: 10-15 minutes
Cake Ingredients:
2 sticks of softened butter
1/2 cup shortening
3 cups sugar
5 large eggs at room temp
3 cups all-purpose flour
2 teaspoons baking powder
1/4 tsp salt
½ cup whole milk, room temp ½ cup buttermilk, room temp
2 tsp vanilla extract
Filling Ingredients:
2 sticks unsalted room temp butter
1-7oz jar marshmallow fluff
1 ½ Cups powdered sugar
1 ½ tsp vanilla extract
Pinch of salt
Icing + Decorating Ingredients:
20 oz Ghirardelli white chocolate melting wafers or vanilla melting candy
4 tsp neutral oil- like avocado green sanding sugar
red dye to add to the filling for the stripes
Instructions:
The Cakes
Preheat oven to 350°F. Line two half-sheet pans with parchment and lightly grease.
Cream butter, shortening, and sugar until fluffy; add eggs one at a time.
Sift flour, baking powder, and salt in a separate bowl.
Stir together milk, buttermilk, and vanilla.
Add dry and wet ingredients to the butter mixture, alternating and ending with dry.
Spread batter into pans and bake 10-15 minutes until set. Cool completely.
Make the Filling
Beat butter until light.
Add marshmallow fluff, powdered sugar, vanilla, and salt; beat until fluffy.
Tint ¼ of the filling red for decorating.
Cut & Assemble
Cut cooled cake using a Christmas tree cookie cutter, alternating directions to maximize pieces.
Pair trees and pipe filling between each set to make mini cakes.
Chill assembled cakes for 15 minutes.
Coat & Decorate
Melt white chocolate: 45 seconds, then stir in oil; continue in 15-second bursts until smooth.
Dip each tree into chocolate using a fork and allowing excess to drip before placing on parchment.
Sprinkle with green sanding sugar and add red piping for those classic stripes!
Notes:
Do not undercook the cake- it needs to be firm to endure the icing process.
Room temperature ingredients make the cake smoother.
Make sure to always cool the cakes for only 15 minutes- too long or too cold and they will make the chocolate too cold. Too warm or frozen cakes and will crack and fall apart.
Adding the oil into the chocolate as you need it, allows the icing to keep its silky texture for dipping.
💛 If you loved this recipe, be sure to check out more cozy favorites in The Living Cookbook — filled with family-approved meals for every season!
📦 Shop my favorite kitchen tools and pantry staples on my Amazon page — where you’ll find everything I use to make these quick weeknight dinners happen.

Savor the Story
This recipe comes straight from the heart of my kitchen, from weddings to motherhood to the cozy chaos of Christmas at home. It’s also featured inside The Living Cookbook, my forever-growing collection of heirloom family recipes that will be added to seasonally—recipes meant to be savored, shared, and passed down.
👉 Want to keep cooking stories like this?

Thank you for spending a few moments of your day here in my kitchen.
I hope you leave inspired to try something new — a recipe that brings your family together, fills your home with comfort, and reminds you that joy is found in the little things (and sometimes, in the perfect bite).
If today’s recipe made your table a little sweeter, here are a few ways we can keep cooking together:
📬 Subscribe for Recipe Updates — never miss a new meal idea, holiday bake, or cozy kitchen favorite.
🥣 Grab my Living Cookbook — filled with family-approved, tried-and-true recipes that grow with you through every season.
🛒 Shop my Amazon Pantry & Kitchen Gadgets — from my go-to spices to the cookware I use daily, you’ll find everything I love in one place.
🌿 Join the Joyful Life Community — a free space for connection, encouragement, and practical tips for every season.
📸 Follow along on Instagram or Facebook for behind-the-scenes life, daily inspiration, and my latest projects.
📌 Find me on Pinterest for endless homemaking, seasonal, and family activity ideas.
🎙 Listen to the Podcast or
🎥 watch on YouTube for deeper conversations and stories we can share together.
💛 Shop my favorite finds & discounts — from home essentials to seasonal must-haves, I’ve gathered them in one place for you (some are affiliate links, which means I may earn a small commission at no extra cost to you — thank you for supporting my family and this space!).
Your support means the world — it allows me to create, share, and raise my little ones from home, which is truly our family’s dream. Thank you for being here and for making this space such a joy to pour into.
With Joy and gratitude,


Comments